Ring Progress Bar | SwiftUI


In this article, we will explore how to implement a Ring Progress Bar using SwiftUI
Before proceeding, please consider subscribing to our YOUTUBE CHANNEL
It gives us a lot of motivation to produce high-quality content for you guys.
if you are interested in watching the video tutorial, Check out below.
Let’s start by creating the script.
Name it as RingProgressBar, and add a ZStack inside the body
import SwiftUI

struct RingProgressBar: View {


    var body: some View {
        ZStack {

        }
    }
}
We need a few variables to control the progress bar. Let’s add them like below.
import SwiftUI

struct RingProgressBar: View {

    @Binding var animateTheRings: Bool

    @Binding var progressValueOne: CGFloat
    @Binding var progressValueTwo: CGFloat
    @Binding var progressValueThree: CGFloat

    let strawberry = Color(#colorLiteral(red: 1, green: 0.1857388616, blue: 0.5733950138, alpha: 1))
    let lime = Color(#colorLiteral(red: 0.5563425422, green: 0.9793455005, blue: 0, alpha: 1))
    let ice = Color(#colorLiteral(red: 0.4513868093, green: 0.9930960536, blue: 1, alpha: 1))

    let animation = Animation.easeOut(duration: 3)

    var body: some View {
        ZStack {

        }
    }

}
I have created a ring function which draws a hollow ring and reused it inside the body three times to create three rings
import SwiftUI

struct RingProgressBar: View {

    @Binding var animateTheRings: Bool

    @Binding var progressValueOne: CGFloat
    @Binding var progressValueTwo: CGFloat
    @Binding var progressValueThree: CGFloat

    let strawberry = Color(#colorLiteral(red: 1, green: 0.1857388616, blue: 0.5733950138, alpha: 1))
    let lime = Color(#colorLiteral(red: 0.5563425422, green: 0.9793455005, blue: 0, alpha: 1))
    let ice = Color(#colorLiteral(red: 0.4513868093, green: 0.9930960536, blue: 1, alpha: 1))

    let animation = Animation.easeOut(duration: 3)

    var body: some View {
        ZStack {
            Color.black
            ring(for: strawberry, progress: progressValueOne)
                .frame(width: 165)
            ring(for: lime, progress: progressValueTwo)
                .frame(width: 128)
            ring(for: ice, progress: progressValueThree)
                .frame(width: 92)
        }
        .animation(animation, value: animateTheRings)
        .ignoresSafeArea()
    }


    @ViewBuilder
    private func ring(for color: Color, progress value: CGFloat) -> some View {
        Circle()
            .stroke(style: StrokeStyle(lineWidth: 16))
            .foregroundStyle(.tertiary)
            .overlay {
                Circle()
                    .trim(from: 0, to: value)
                    .stroke(color.gradient, style: StrokeStyle(lineWidth: 16, lineCap: .round))
            }
            .rotationEffect(.degrees(-90))
    }

}
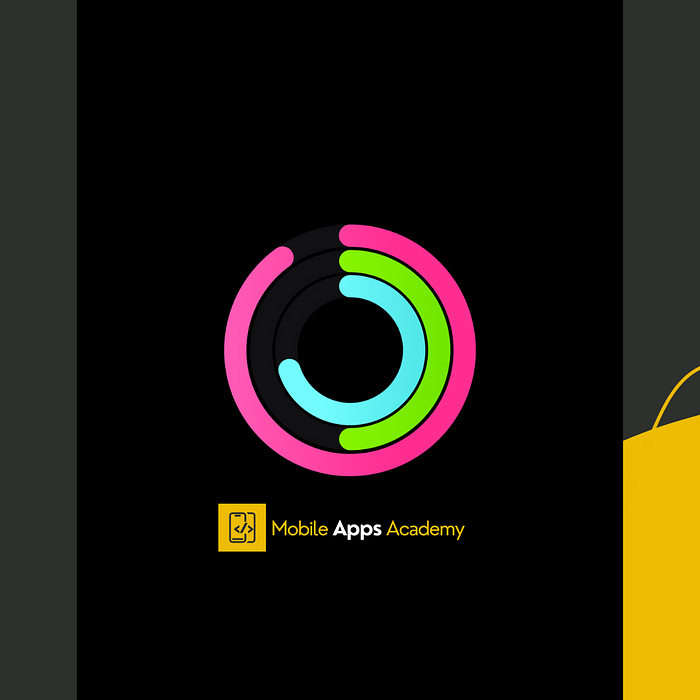
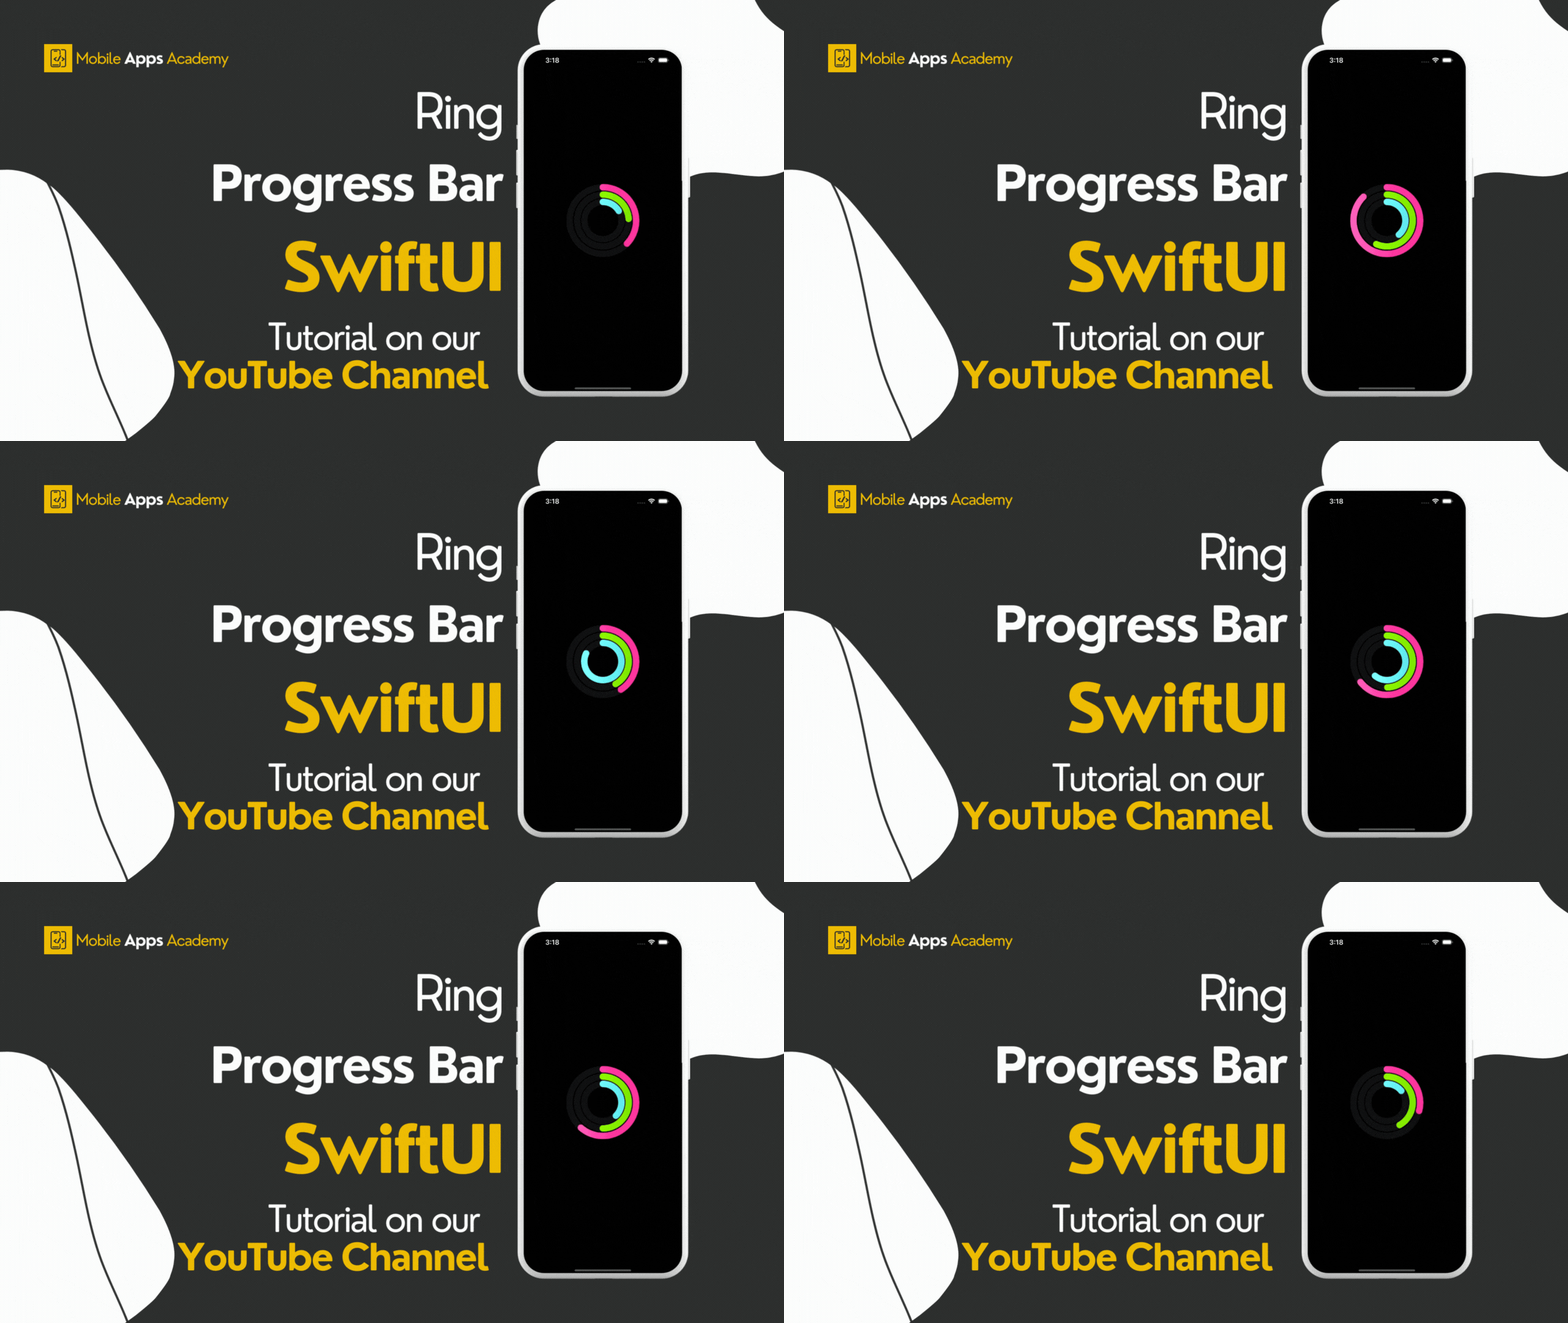
That’s it. You should be able to see the progress bar below.

Once again Thanks for stopping by.
Do check out our YOUTUBE CHANNEL
Social Handles
Instagram : https://www.instagram.com/mobileappsacademy/
Twitter : https://twitter.com/MobileAppsAcdmy
LinkedIn : https://www.linkedin.com/company/mobile-apps-academy/

